 Writing tons of posts? Yet not getting desired amount of traffic? Your posts ain't coming to the search results due to lack of sitemap? If the answers are yes, then probably I got you covered, I have the solution to your blood boiling problem.
So today in this article I'm gonna tell you how to generate a sitemap of your blog or website and easily submit it to Google's Webmaster tools so that your high quality content gets the perfect exposure through the search results. But first of all let me clarify the concept of sitemap to ya.
So what's a sitemap?
You read books (the real ones with pages in it)? If you remember that kinda books you must remember the table of contents at the starting of the book. Right? In case of your blog, that page of contents is known as sitemap. To define it "blogologically" —
A sitemap is the list of your blog posts (often a XML file), that the search engines use to crawl your site and show those posts in the search results.
Why do I need a sitemap?
Suppose I give your an unknown physics book of 2K pages and tell you to find out the Energy Torque Equation of a DC Machine asap, will you be able to find it without a list of content page? No, right? So can't the search engine. It crawls millions of sites daily, so it's nearly impossible for a search engine to automatically crawl all your pages. Hence the sitemap. If you want your content to rank in the result pages, you've got to do it. Let's have a look at how exactly we can create a sitemap and submit it to Google's Webmaster tools.
- Trending Now: How to Increase Blog Traffic: 8 Killer Tactics!
How to do that?
First of all you gotta start your computer, obviously! After that, simply go to this site. And then in the box (shown in the pic below), paste your site's URL and press the Generate Sitemap button below. You'll be presented with some bunch of codes. Next, copy that and better save that in some text file for future use.
Now come back to Blogger dashboard. Navigate down to the Settings > Search Preferences. There you'll notice a section named Crawlers and Indexing. Switch on (enable) the custom robots.txt option there and paste the copied bunch of code in that box (see the snap below) and save the changes.
Now your pages will be automatically crawled. But for a little help of Google, let's submit it to the Webmaster tools.
Also Read: How to Backup or Restore a Blogger Template?
To do so, at first you gotta copy a certain part from that bunch of codes. Which part? Look at the screenshot below.
Got it? Copy the yellow part. Then go to Google's Webmaster tools. If your site is not listed there, make it appear by clicking ADD A SITE button at the top right corner of the page. Can you see it? Now click on your site and steer down to the Crawl option (at left side of the site). Under crawl tab you'll find an option named sitemap. At the top corner of that page, click on ADD/TEST SITEMAP. A box should pop out. Now paste the copied (yellow marked) code into popped box and hit the submit button. And you're done.
Lastly:
 That's it. You've helped Google enough to find your blog's great contents. I recommend submitting the sitemap to Bing's Webmasters tools as well. Try doing it yourself. That will help you to have a long run in the field.
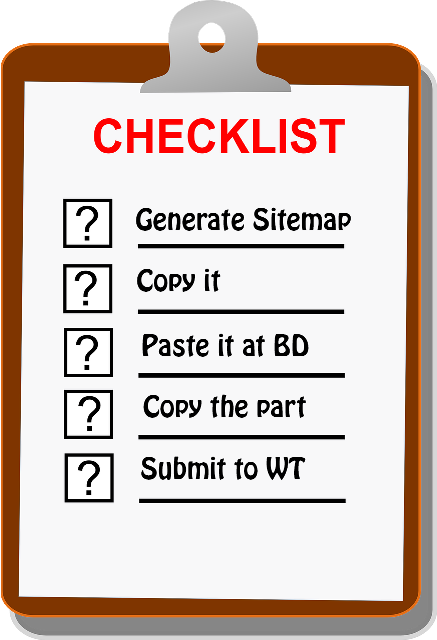
Wrapping everything up, here's the brief summary of what you've gotta do. Have a look over it.
Now you're a step ahead towards a great blog. Start writing more contents so that you get higher chances of getting discovered in the web ocean. Comment your thoughts on this topic bellow. Bye for now, ceeyaa. :)


